Menu
When you are looking to make your book cover stand out, adding 3D Spot UV can be the perfect thing! 3D Spot UV is a raised and reflective UV liquid coating that can be applied to specific parts of a cover. It is best combined with a soft-touch matte film to accent specific fonts and images on the cover. It is a great premium feature that is still cost effective, if you are wanting to add a little flair to your cover.
3D Spot UV requires a specific file set-up to be applied properly. Below are step-by-step instructions for creating a 3D Spot UV file using Adobe Photoshop. If you are using a different software program, these instructions may still be useful to follow and adjust accordingly to your specific program.
Need help setting up your cover PDF? Review our Cover File Requirements.
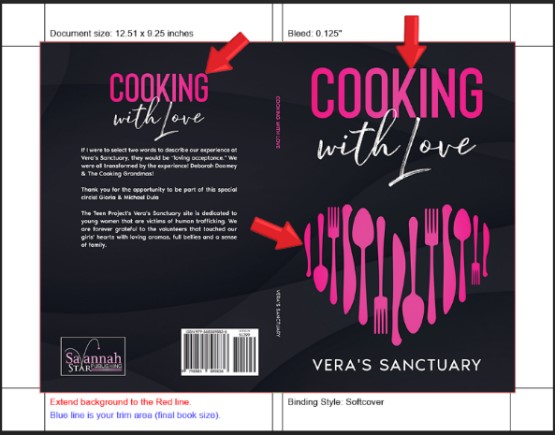
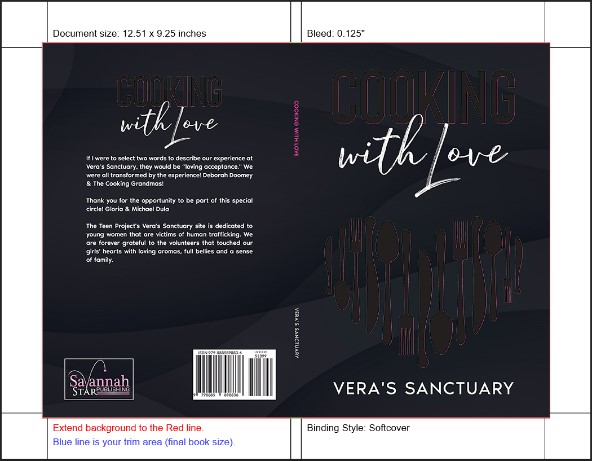
The first step for your 3D Spot UV file is choosing what on your cover you would like to have as 3D Spot UV. You do not want the 3D Spot UV to reach the edge of your cover or touch the bend of your spine as this can cause the 3D Spot UV to crack and break during binding and general use of the book. You also want to use 3D Spot UV as an accent (book titles, author names, small graphics, etc.) and not cover large areas of the cover as that can also lead to cracking.
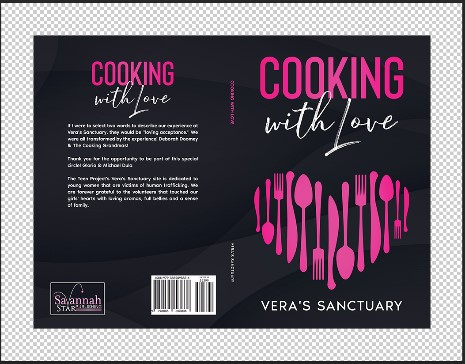
For this how-to I’ll be using this cover. I want to apply 3D Spot UV to the word cooking on both the front and back cover as well as the silverware on the front cover. None of these places touch the bend of the spine or edge of the cover and are not large areas like a photograph.
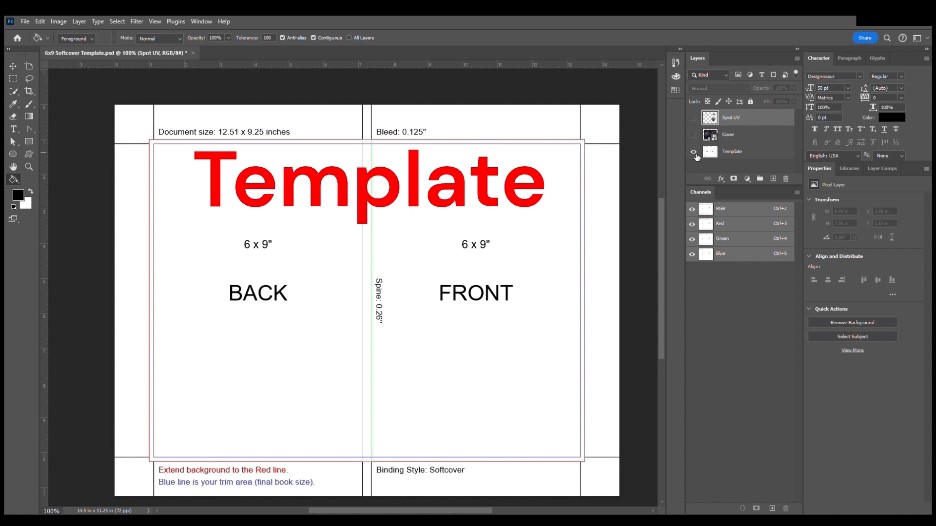
Layers are like stacked, transparent sheets of your artwork. You can see through the transparent areas to the ones below. This allows you to work on each layer independently without affecting what you have on another layer. Layers will be useful in making sure the placement and size of your 3D Spot UV is the exact same as your cover.
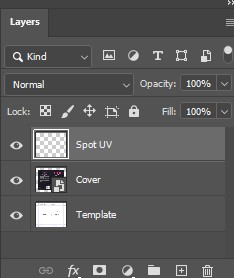
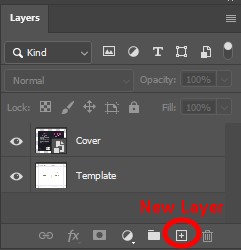
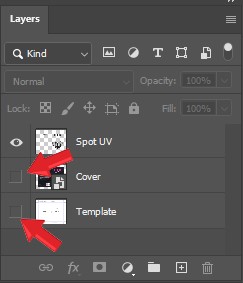
As you can see in this scenario, I already have two layers. The first layer is my cover template and the layer on top is the cover itself. I’m now going to add a new layer that will be used for my 3D Spot UV. Once you have the new layer it’s time to create your 3D Spot UV!
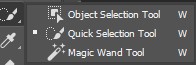
A selection tool allows you to select specific areas on your canvas which you can then manipulate without affecting the rest. There are different types of selection tools, and one may be better suited or easier to use for you. If you are wanting to highlight a specific object on your cover with the Object Selection Tool, for example, you will want to make sure that you are on the cover layer as being on any other won’t allow you to highlight that specific object.

Once you have the area you want the 3D Spot UV applied, you’ll then select your Spot UV layer in the layer menu. With the object still highlighted, fill in those selected areas in black using the Paint Bucket Tool. If you do not have all the areas selected that is okay; you can repeat Steps 3 and 4 until you have all the desired areas filled completely with black on your Spot UV layer. Once comlete, your cover file should look like the image in the right with the targetted areas blacked out.
With all your 3D Spot UV areas filled to black on your Spot UV layer, it’s time to create PDF files. In this scenario, I want to create two PDFs: one for my cover and one for my 3D Spot UV. Since I already have all my necessary materials in their respective layers, it will be as simple as hiding the layers before creating a PDF.
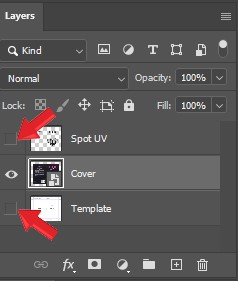
I’m going to start with creating a PDF of the cover. In your layers menu, you will want to hide the Spot UV layer and the template (Note: you can leave the template layer visible if you prefer). These layers can be hidden by clicking the eye next to the Spot UV and Template layer. This will leave only the cover visible which is what you want when creating a cover PDF. Depending on what program you are using, you will either need to save-as a PDF or export the file to a PDF. With Adobe Photoshop, you will need to click ‘Save-As’ under ‘File’ and choose ‘Photoshop PDF’ in the ‘Save as type’ list. After naming the file and clicking save you will now have a PDF file for your cover!
After saving (or exporting) your 3D Spot UV layer into a PDF file your file should appear to have a transparent background with the specified areas filled completely black.

Voila! Now you have two PDF files, one for your cover and one for the 3D Spot UV. Both files will be ready for print as they are in the correct size for your book based off the template size that was used. Now when you receive your printed book the raised and reflective 3D Spot UV will be applied specifically where you want it to be!
Need help setting up your file? Not sure if 3D spot UV is right for you? No problem! Our team is ready to answer your questions. If you would like to see a sample of our 3D spot UV, we can mail of our previous books for free. Contact us for more details.

Get marketing tips, design inspiration and more from the world of DIY book printing.
© 2026 Gorham Printing Inc. All rights reserved. Privacy Statement